Showing posts with label crafty individuals. Show all posts

Thursday, 1 February 2018

Off to Collage at Stamps and Stencils!

Hi everyone, Cec is our lovely host for this months challenge... here's what she wants us to do.

'No I am not sending you to school but thought it might be fun this month to make a collage.  You can use any substrate such as canvas, corrugated cardboard, wood, or canvas boards for instance and add any items to it as long as you include some stamping and/or stenciling.'

So I've created a little wall hanging in vintage tones, with lots of layers.


'Collage  - a piece of art made by sticking various different materials such as photographs and pieces of paper or fabric on to a backing'.

I've gone for a slightly different take on this and  decided to go down the using up scraps route and make a collaged background. Taking a cue from Cec, I had a piece of cardboard lying on my desk and that's where I started. Tweezers to rip a few holes in the base and then I've glued down some book text.


Layering all sorts of scraps as a backdrop and then I decided the focal point would be a small photo frame with something in it...at this stage I wasn't sure what though!


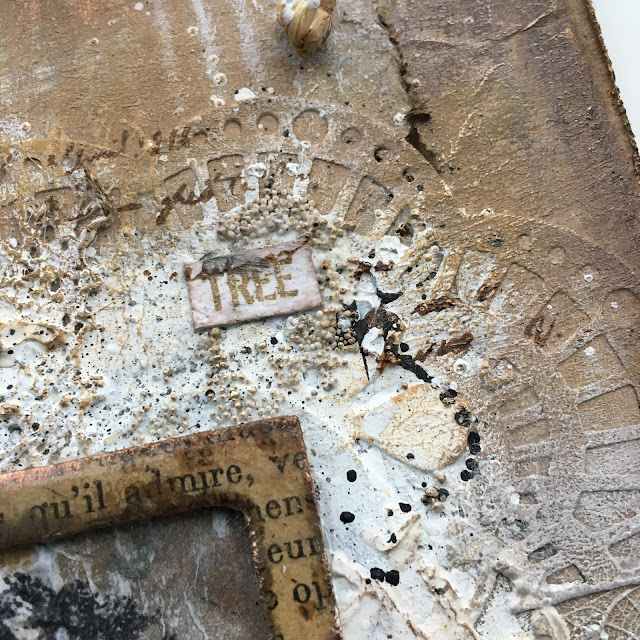
As all the items I was using were neutral tones, I decided to keep to that colour theme and just use a little gesso to tie them together. Lots of dry brushing on the outer edges and a little more centrally. I masked off the framed area so that when I added the image it would stand out.


Love how dry brushing highlights all the texture. Add in some micro beads (art stones), grunge paste through a stencil and the main image (Crafty Individuals) stamped on tissue before gluing down.


Love this effect, it gives such depth to the piece and because it is straight over the collaged elements it fits in perfectly. Some stamping in potting soil archival and paint splats.


More dry brushing in shades of brown (toffee, chocolate pudding and stone) to highlight the texture.


The frame was altered by covering with book text, adding 2 layers of clear UTEE and a tickle of treasure gold.


I enjoyed doing this so much I want to do another one!


Hope you'll join in with our challenge and if you need more inspiration hop across and see the wonderful samples from our very talented creative team! Happy creating! Ruth x

Saturday, 26 August 2017

A Paris Journal

Hi everyone, well I've finally finished my first journal using Eileen Hull's Journal Die. It started off as funky but quickly turned shabby chic...so I tried to create a little vintage style Parisian elegance. It's more of a Traveler's notebook than a junk journal with lots of room for making notes and it's not too chunky so will fit in a bag easily. Am I going to Paris? Not that I know of..but it will definitely be going with me when I do!


I've also created a little flip through video which I'll share at the end of a rather long photo heavy post. Before I start though I want to thank Anne Redfern for her generosity and helping me out whilst I waited for my die to arrive and also for her many inspirational posts, this one is a particular favourite and Jenny Marples has been fairly busy herself creating gorgeous inspirational videos like this one, which is where my I picked up the tip about using a band of Sari silk ribbon to close the journal. THANKS to both of you!

This may be the first of many journals as I really like this die...

The cover was asking for grunge paste through a large lacy stencil, this is one I've had for ages, picked up in a sale and I'm not even sure who made it. Once covered I use Fresco paint in Nougat and then sprinkled infusions on and spritzed with water before heat setting. A little archival ink and treasure gold highlights the texture. Stitching and metal foil to finish.


As you can see lots of stencils and all my french or elegant style stamps came out. The stamps in the top left are an elusive image set and unfortunately aren't available anymore but photo realistic stamps would work brilliantly. Why Paris, well I was looking for a word to 'bump' stencil onto the plaque and the Scrapcosy stencil showing the word PARIS just sealed the deal as it fits perfectly over that wonderful crackled paint effect. Raquel of Scrapcosy has also made several videos using infusions and the link here covers infusions with Fresco paint.


I used walnut ink to stain the ribbon and white cartridge paper for a lot of the pages as I find it works beautifully with infusions.


The crackle effect on the front can be changed into gorgeous large cracks just by applying the paint thicker. I've used infusions a few different ways, the first page is spritzing water through a stencil having sprinkled the area with infusions, then monoprinting other areas with the infusions remaining  on the stencil.


Stamping and embossing on tissue paper pockets.


Stamping with versamark before brushing on infusions and spritzing, extra stamping in gold and brown archival and a few splashes of walnut ink.


All those punches I've been hanging onto were put to good use and splashes of white paint helped to age parchment writing paper. Stamps I've hoarded from childhood that hopefully aren't worth anything came in use.


As well as scraping white paint over Kraft paper as a base for journalling, it was very effective just stencilled on.


Several different colours of Infusions were used, think this is Violetta....love!


Waxed Kraft paper embosses beautifully and made some lovely stitched pockets for tags.


Another way of stamping with Infusions is to sprinkle them on to the stamp, rub in and spritz the stamp with water.


I imagine writing across in this journal starting at the edge of the images so there is a curvy flow of memories flowing down the page.


Of course there is room for tags and little souvenirs to be tucked away in flaps and pockets.


I'm itching to make another one but will content myself with leafing through this one for a little while longer....and if you want a walk through of the journal then here's the video.


Thanks so much for stopping by, hope you enjoyed your visit and enjoy the weekend. R x

Thursday, 6 August 2015

Guest DT spot at Frilly & Funkie!

Hi everyone, second post of the day! I was absolutely delighted to be chosen as a Frilly and Funkie favourite and be given the opportunity to create a project for their current 'Things with Wings' challenge.


Hope you'll hop across and take a look .


I decided to create a little box canvas and chose  a winged angel stamp from Crafty Individuals. Very vintage colours with a hint of pink.


The embossed sides.


Canvas trim and embellishments.


The final piece. Thanks for stopping by and hope you'll be able to join in with the challenge. 

Monday, 30 March 2015

Catch up part 2....

Quick edit...following on from my brief post yesterday about our new challenge blog Stamps and Stencils, it's my turn today along with my lovely teamie Yvonne to be introduced. As the name suggests it's all about using stamps and stencils in your mixed media projects...I'm so proud to be working with these talented ladies again...our first challenge starts on Thursday!

 Hi, part 2....I attended a Sue Carrington workshop a few weeks ago where we created a wonderful canvas panel with lots of lovely techniques but what I especially liked was that we were using beeswax. I haven't used it as often as I'd like to and have to admit I have a desire (even more so now) to dabble in encaustic artwork, layering wax on panels  to create muted shapes of depth a la Donna Downey and France Papillon. Anyway before I get carried away...here's what we created.


I won't give too much away but there is some stamping on tissue and when combined with wax gives a soft quite beautiful finish.


Some lovely paint techniques to age things


And there is some drippage here and there!


I'm lucky that Sue has become a good friend since I've attended some of her workshops and felt really honoured when she made a lovely present that I thought I'd share with you. You may think it looks familiar, she made a similar one here for another crafty friend.  


It has pride of place on my pen draw where I can see it when I 'create'. Thankfully Sue has taken my big hint and her next workshop is a metal work one.....


...can't wait. If you're around the West Hallam area of Derby June 20th you might be interested, you can find all the details on her blog here

Whilst on a green theme, I've signed up for Donna Downey's Inspiration Wednesday workshop and thoroughly enjoying experimenting and just enjoying her videos she has such an enthusiasm for art and never fails to make me laugh. I've made my art journals, although I love fabric, me and sewing machines aren't a match made in heaven, so I'm quite pleased with how they turned out.


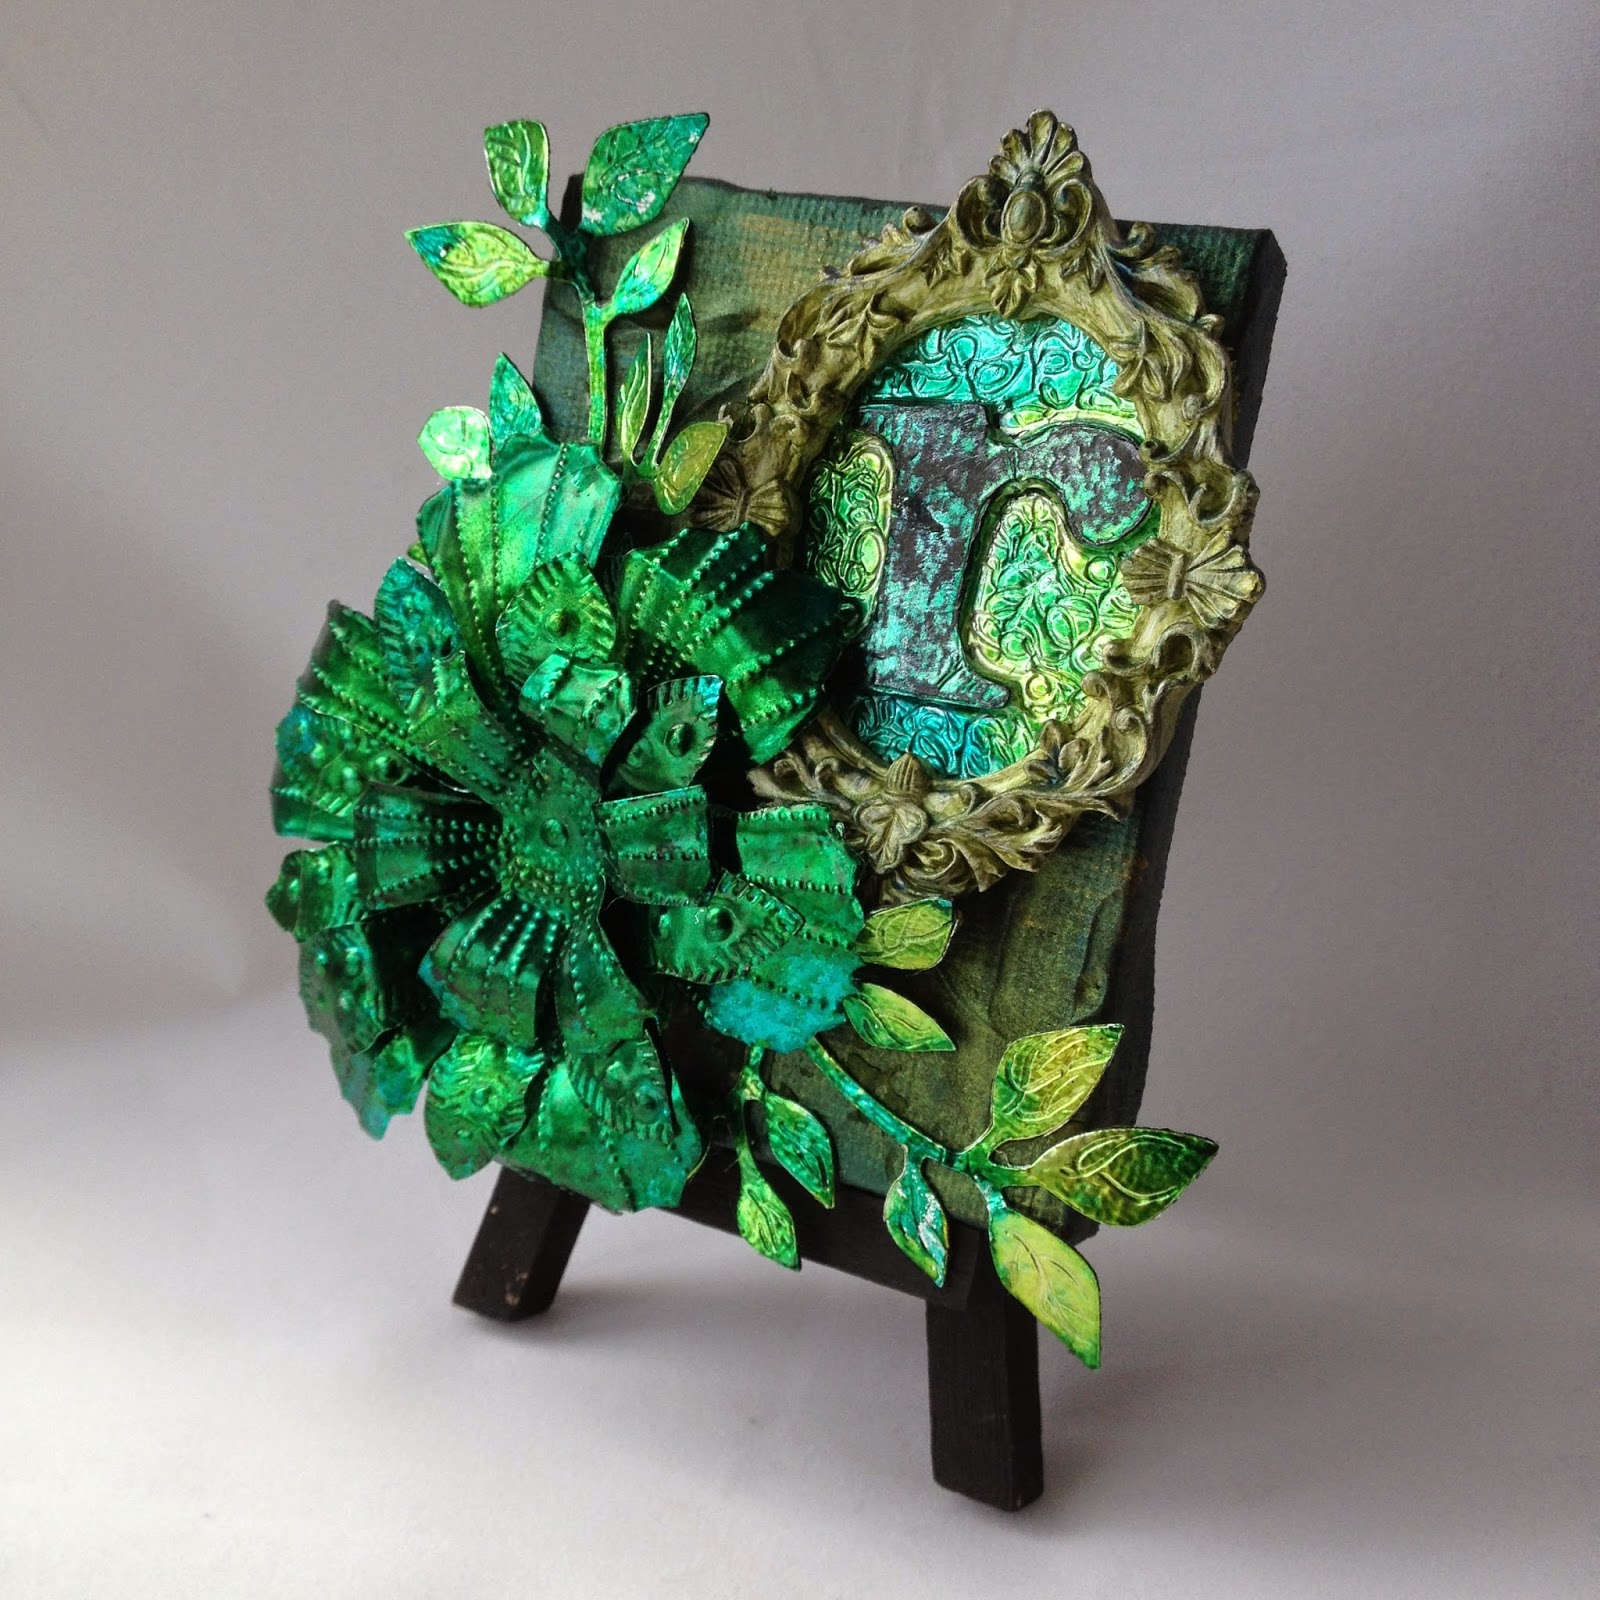
I said a green theme, well there's a you tube video here of a past Inspiration Weds post from 2013 that I wanted to have a go out. This is my version, it's paint and gesso, UTEE and paper flowers. It's a textural piece...or in my words, touchy, feely.


This is part way through.


If I was doing it again, I wouldn't add as much colour to certain areas, but then that's what experimenting is about.


It really is a glossy dimensional piece. Hope you enjoyed this catch up, exciting times ahead this week. Thanks so much for stopping by. 

Wednesday, 24 September 2014

'By the Sea'

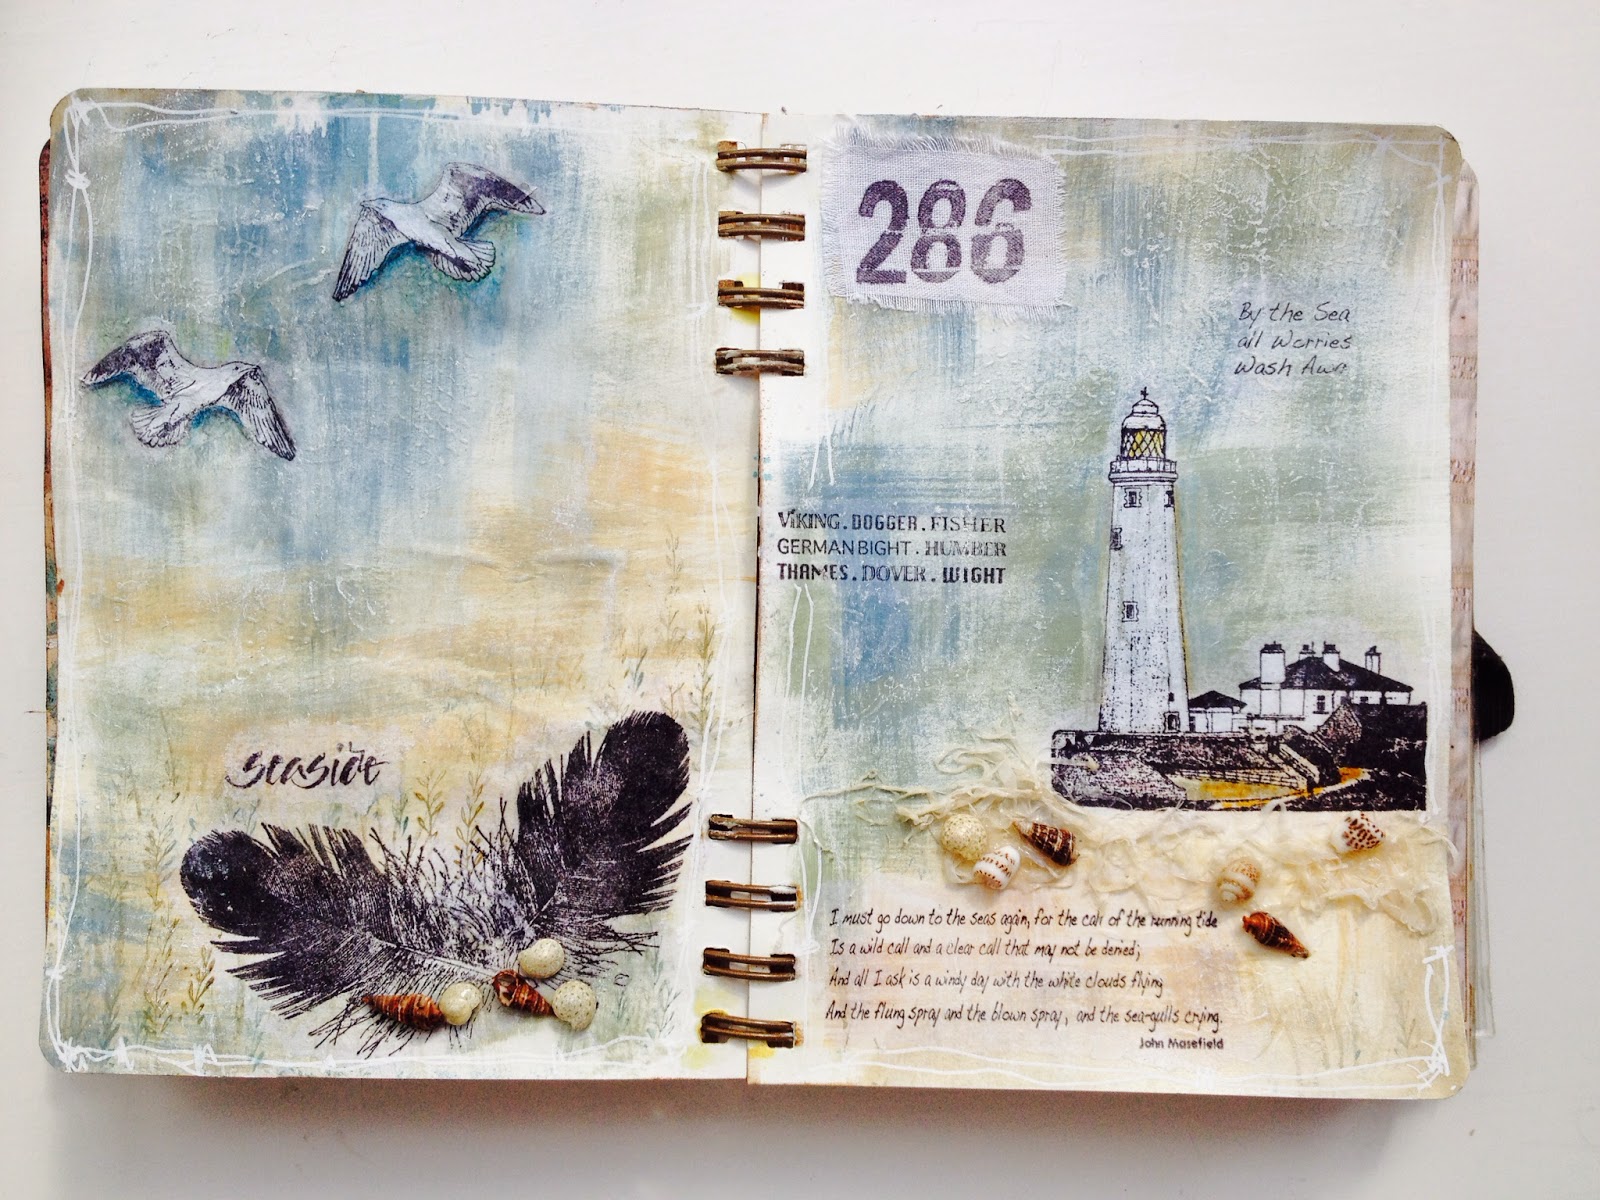
Hello again! I've been away for a week but before I left I'd really hoped I could have made something to schedule as a post whilst I was absent...but it wasn't to be. However I did take a few supplies with me and I will be sharing some makes with you over the next week. Over on Country View challenges blog this month the theme is Nautical. As I was staying near the sea it was easy to be inspired to make these journal pages which I'm entering in the challenge.


Sorry but I've only the finished pages to show you. Unfortunately I didn't take any paint with me partly because I just couldn't choose which fresco paints to leave behind and partly I thought I should explore using the colouring mediums I've been accumulating, like my distress pens and portfolio oil pastels.

Limited supplies encourage you to be creative...however I have to admit I did find a basic craft shop and they had some paint tubes on offer for a £1 each so I picked up a blue, beige and 2 greens so I could make a painty background. I also picked up some gel medium from an artists shop. I hadn't taken any matte medium with me because I didn't think I'd need it. The gel medium isn't a glue but I was able to smooth some through a stencil which when dried gave a slightly raised effect which I then highlighted with a white inktense block I'd taken. Hopefully you can see the texture, I also think it gave it a weathered look.


I took some stamps with me and one of them was the Crafty Individuals 397. I salvaged some tissue paper that had been wrapped around something and stamped the images in black archival. I coloured the back of the lighthouse and the seagulls with white picket fence distress marker before tearing around the images and sticking them in place with a mixture of the gel medium and some PVA glue. I used all but one of the stamps in the set. The numbers are stamped on a piece of white cotton (literally a scrap I'd chucked in my bag at the last minute).


I've added some tiny shells and I found some netting on the beach which I unraveled and used. I used the distress pens to stamp some foliage from the CI 395 set and I've used white instead of black lines to frame it to add to the whitewashed look.


 Lastly stamping on tissue means you can reverse the images without losing any clarity, so the one seagull stamp became two seagulls facing different ways.

Thanks as always for stopping by....I hope to catch up on some serious blog hopping now. 

Saturday, 13 September 2014

'Shlurple the purple'

Quick card and quick post. I'm just in time for the Sunday Stampers challenge over on Hels Sheridan's blog. This week it's purple tones. I was originally going to use lilac tones on my assemblage clock and submit it for both challenges... but then the purple didn't happen, so as a late offering it's a sunset instead.


Apologies for the poor photo, you can tell the nights are drawing in as I've had to take the photo in artificial light....and I never like the result.
I've used pan pastels to build up the colour for the background and then the Crafty Individuals 'Build a Meadow' stamp set with versamark and pan pastels...........and that's it.
I might just add another photo taken in daylight tomorrow! Thanks so much for stopping by.

Updated photo......happy crafting!


Thursday, 28 August 2014

'Autumn Fashion'

Over at Crafty Individuals the challenge this month is Autumn Fashion. Looking at the stamps I have I decided to use CI306 and use the dress form for hanging my autumn fashion on. I've made a trio of tags which I am entering in the challenge.


 I stamped the vintage dress form in black and clear embossed it, then set about creating my retro fashion outfits.


I've used 2 colours of luminarte silk glazes on old book text, tissue tape and the scraps of material left over from my journal post a few weeks ago.


Stamped fabric bodice and pleated text paper skirt...lovely sheen from the silk glazes.


Fabric panelled skirt and tissue tape bodice.


Finally text paper bodice and then a ruffled tissue tape skirt. I had to use a pin to help me pleat the tape! The stamped image isn't very big, so dressing the form was quite fiddly. It reminded me of dressing paper dolls when I was little, well crafting is play time to me so it was fun! They are mounted on some Kraft tags which I dry brushed some of the silk glaze onto.
I thought I could use them as they are or as a main image on a card. As always thanks for stopping by.