Showing posts with label christmas. Show all posts

Tuesday, 2 January 2018

Twelfth Night...

Well not quite but I thought before Christmas festivities are officially over and the decorations come down I'd share the last few Christmas cards I made for my family. Sneak peeks may already have been spotted on instagram so this is just a quick  canter through the snow!


Sometimes card that has been used to mop up  splashes or used to clean a brayer are just perfect.


 Same background card, though winter light does not do it justice......sorry for quality in next few photos


Loved playing with this idea, kraft and white embossed card..variation on a theme shared in a previous post.


Lastly, textured crackled star...


with a little treasure gold, this was for my OH and it's his favourite carol (thankyou Alison Bomber)


Here's to a hopefully wonderful 2018! R x

Wednesday, 20 December 2017

Christmas Trees...

Hi everyone, the 20th, not long to go now and I'm more organised than usual (no everything is not done...but this year I might get the presents wrapped before midnight on am Christmas Eve!). I'm back again with a few more cards to share.
You may have noticed in my Christmas posts that I have a fondness for simple shapes or motifs and often use snowflakes, stars and trees...lots of trees. I usually cut a simple triangle shape or make a triangle shape with strips of paper, buttons etc.
I love Anneke De Clerck's style of cards and in particular these Christmas Tree card ideas here and here . If you hop across to her blog 'Some fiddling on the kitchen table' she has a section on the right of Christmas card ideas, well worth a look.


So I finally got to dabble with my Distress Oxide reinkers. I used some drops on a piece of cut and dry foam to ink up a stamp, spritzed and stamped...instant background, more spritzing as I dried them.


The stamp was a bargain stamp from at least 15 years ago, grey rubber unmounted not sure who made it but it looks a bit like the texture tread ones as there is a positive and negative to it. Not a Christmas theme but I thought it worked so well and got carried away with all the lovely distress colours.


I recently bought a Stamp-a-ma-jig and got the hang of it and now find I'm using it constantly for stamping perfectly positioned sentiments. Vellum scraps and enameled card bits were used up too...another plus!


Subtle second stamped backgrounds could support bright trees. 


Strips of white dots were brayered with different coloured fresco paints. I originally thought I'd be able to peel the dots off to use them but found they all had an edge of paint so ended up leaving them on the backing sheet which because it was non stick gave a lovely web effect. Love this purple one!


A little teal at Christmas.


More CAS style use of dots.


I found some metallic dots in Hobbycraft but intermixed them with some of the fresco painted dots and added glitter stickles...I have to add glitter, sparkle and metallics at Christmas...it just blings it all to life! 


On that note I'll sign off...enjoy the festivities! 

Friday, 15 December 2017

A few more cards

Hi everyone, just thought I'd share a few more Christmas cards in case anyone is looking for some last minute inspiration.


I thought I'd carry on with the red, white and Kraft theme, all very simple; the snow flakes are die cut from white card that was run through a bubble embossing folder, wiped with versamark and then some white and gold glittery embossing powder was added.


I never thought I'd find a use for this washi tape...until now, it's perfect for the card.


Now we're going back to the forgotten stash post and a few more cards made from dark card covered with chalk ink pads and I've used my first hand carved stamp....just dabbling.


Not Christmas cards but shows the stamp.


A Gelli print background


Last card for today and a return to snowflakes for my final pic.


I'll be back with some more Christmas tree themed cards soon. Happy Christmas Crafting and Christmas prepping wherever you are. R x

Thursday, 7 December 2017

Festive at Stamps and Stencils...

Hi everyone, time for our last challenge of the year over at Stamps and Stencils and of course we are getting festive. Sue has chosen the theme this month and wants us to use both Stamps AND Stencils in our festive mixed media style pieces.

'Festive Stamps AND Stencils - Now normally to join in with us we ask you use either stamps or stencils, but for this challenge I want to see both and lots of them with a Festive theme ! So dig out all your stamps, maybe some long forgotten that need some love and all of your stencils and let them take centre stage ! '

I decided to make a box full of gift tags to use this year in my present wrapping.


I started by altering a box...


..and then made a few tags!


For a few years now I have been making my own Christmas wrapping paper inspired by a gorgoeus post Alison Bomber of Words and Pictures did for PaperArtsy here. I love 'brown paper parcels tied up with string' and Scandanavian crisp clean motifs so here's what I came up with this year.

I started off with a teabag box that I'd saved and flattened out for painting.


I still have some Irish Cream fresco paint so used that but didn't add any embellishments as I wanted the box to be practical.


I used cherry red stazon to stamp the images and had some matching card which would be perfect to make the tags from. These were my ingredients. The stamps on the right are a Waltzing Mouse set which unfortunately you can't get now BUT I am sure there are lots of alternatives out there that could be used.


As we are a mixed media blog I had to embellish the tags a little and used crackle paint, teabag paper, tissue, stitching, foiling and embossing enamel in the process. I don't think the tags need step outs but it's rather photo heavy now so you can see them in more detail.


I loved making each little one of them (2 1/4 x 2 3/4 inch) and will have plenty to use next year as well now.


I hope you're inspired to dig out some of your well loved or forgotten stash and create something festive for our challenge and don't forget to hop across and see what the rest of our talented team have created to inspire you. I hope to be back before Christmas but in the meantime enjoy your Christmas crafting! R x

Friday, 2 December 2016

Christmas Wishes at Stamps and Stencils.....

Hi everyone...well I'm late to the party and I apologise to you all. The new challenge at Stamps and Stencils has started and our host this month is the very talented Toni. Without further ado here's what Toni has to say..

Ahhhh! Christmas, like it or lump it, it rolls around every year and seems to arrive faster than ever. If you celebrate Christmas, it's likely that you'll be making cards, gift tags, decorations or even creating your own wrapping paper. My Christmas Wish is to see some of the creative things you are making, in order to spread a little seasonal love to your families and friends. My only request is that you include some stamping or stenciling or even both! 


I decided to create a little window decoration and I've used Tracy Scotts Gothic blooms set. As soon as I saw these stamps I thought they would be perfect to use at Christmas time as well, as they could double as spiky frosted winter  blooms or snowflakes. I thought I'd use a slightly different colour combination just to ring the changes and of course I had to add some bling.


At this time of year we need quick ideas that can be easily replicated, well I certainly do! I used some smoothy stamping card and quickly brushed some fresco paints on to it in bougainvillea, antarctic and tango. Add in some Lindy's stamp gang sprays and splashes and my go to shabby white enamel frantage and wow gold sparkle embossing powder, heat set and it's done. I just wanted splashes of colour and pops of bling.


I stamped lots of images and heat embossed in wow black glint embossing powder, a little fussy cutting later and its ready to be assembled.


The background is a coaster which has been painted gold and then a crackle glaze applied  before applying a coat of antarctic. Let the crackle appear add in some more stamping...love the bubble doodles from the same plate. To finish I added some dots of white enamel accents and frosted lace stickles. I hope you can find a little time to join in our challenge. For more amazing inspiration and  all the details please hop across to see what the rest of the talented DT have created for you. Ruth x

Thursday, 3 November 2016

Tags, Bags and Boxes at Stamps and Stencils

Hi everyone, it's November already and we are fast approaching the festive season. Cec is our talented host for this months challenge and she has kept that in mind with her choice of this months theme.  'With Christmas coming up and the gift buying underway, we are going to need something to wrap them in.  Let's make some mixed media tags, bags and boxes that will be as treasured by the recipient as the gift itself.  Don't forget to include some stamping or stenciling.'

I had a lot of fun with this one and opted for quick and easy techniques that are hopefully effective. It's a photo heavy post as I created variations on the colour theme to include other occasions, hope you enjoy...


I started off altering a small Kraft bag but then decided to decorate a gift envelope and different sized tags for Christmas, a Birthday and as a Thank you.


This is the step by step for 'Thanks'  but I'll explain the variations along the way. Firstly brayer some chalk fresco roughly over the background, it will dry in no time.


Next brayer a little copper, gold and caramel fresco in places.


A few scraps of masking tape and a little stamping in black, sepia and plum archival and the background is created in minutes


I think these colours go so well together.


To finish the bag, I applied some die cut book page leaves and a ready made flower was 'frantaged'... shabby white embossing enamel melted over it.


The sentiment was stamped on painted book text and I added some stamped leaves.


For the envelope I added plum and sepia stamped images, the sentiment embossed in black and wiggly lines around the outside....super quick.


The tags are a mixture of the techniques and stamps already used and sticking to the same colour palette creates cohesion.
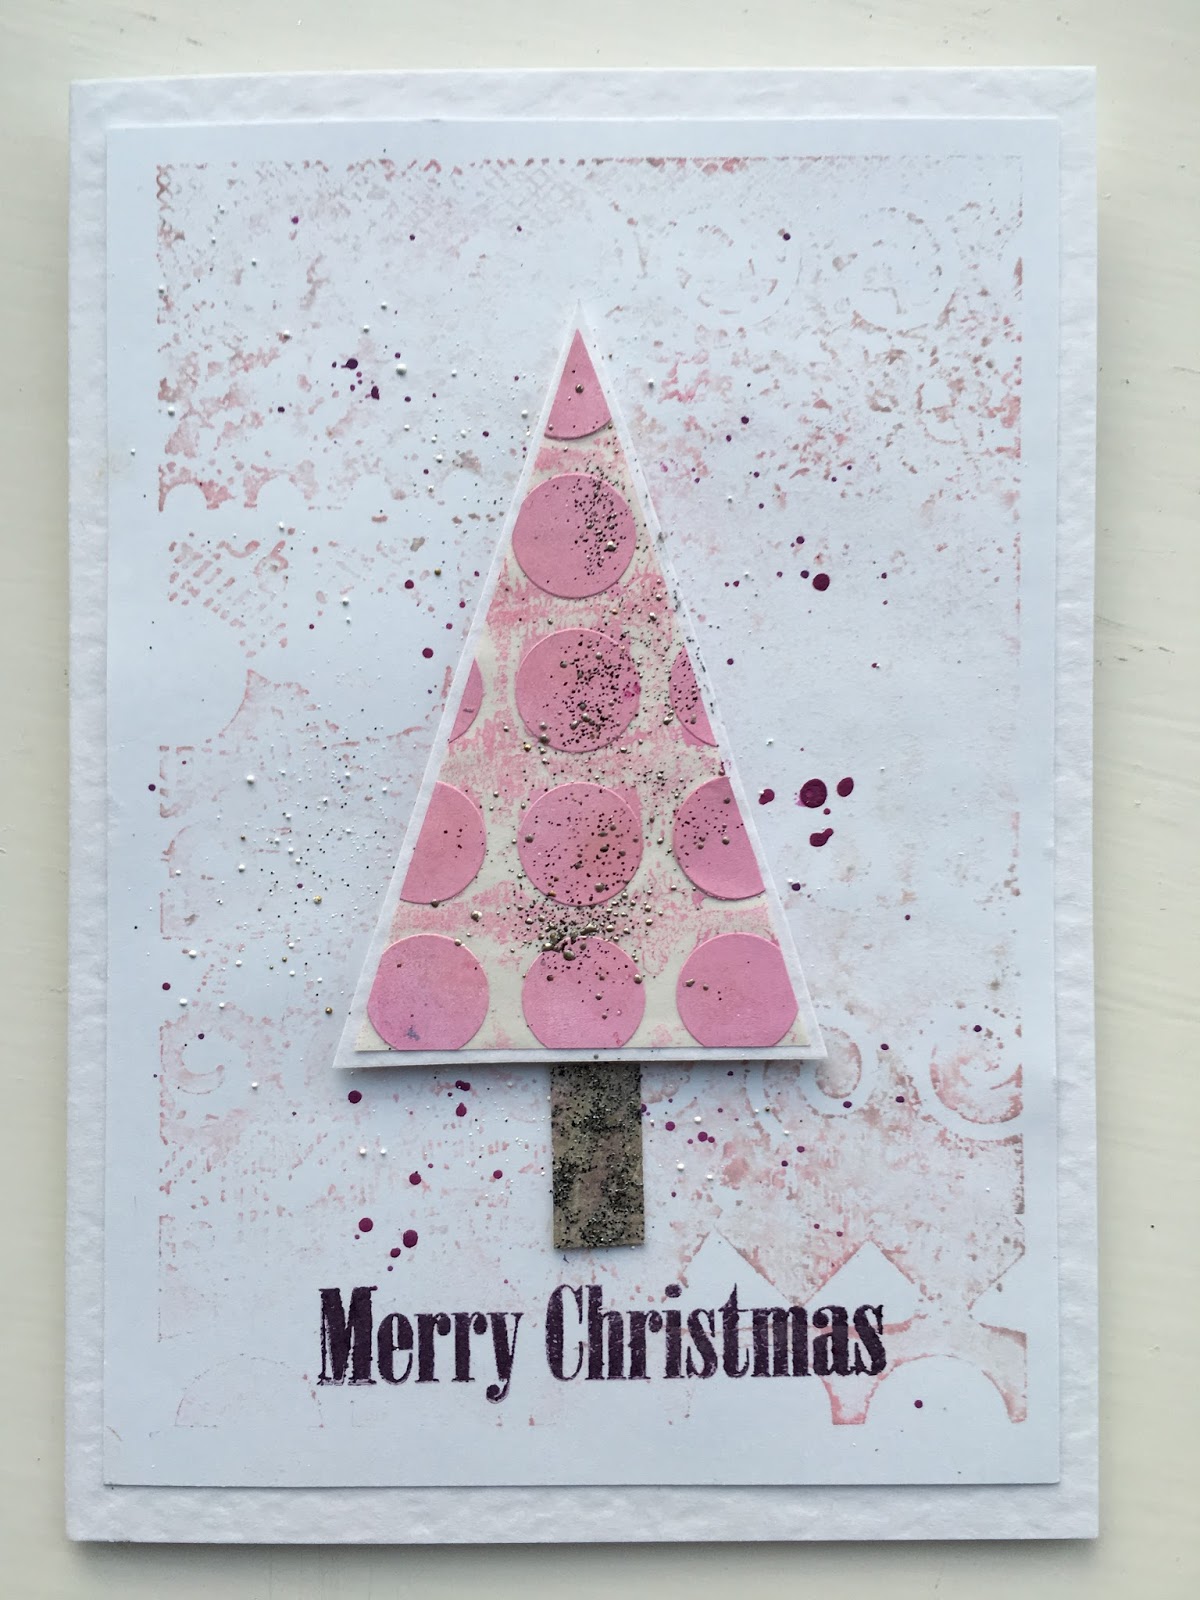


Next it's Christmas


A claret fresco paint background, crackle glaze and chalk paint top coat.


A gold snowflake has been 'shabbified'...aged with ink and paint. Stamping in plum archival and white frantage (I know I keep using it but I just love the effect a little sprinkling gives to to a project)


The crackle just transforms the tags


The last one is for a Birthday and is super quick.


The background is just white gesso scraped on with a credit card...


Add a die cut, sentiment and frantage...job done.


The die cut started off as cream paper which had been lightly brayered with paint  and stamped as in the first step. You can see a little of the torn paper added to the bottom of a tag.


The trio displayed in all their glory.


These were all such fun to make and genuinely quick and easy. I now have a lovely stock, especially useful when you are on the last minute...

Hope you'll join in with our challenge and for more inspiration pop across and see what gorgeous makes the talented DT have made. x