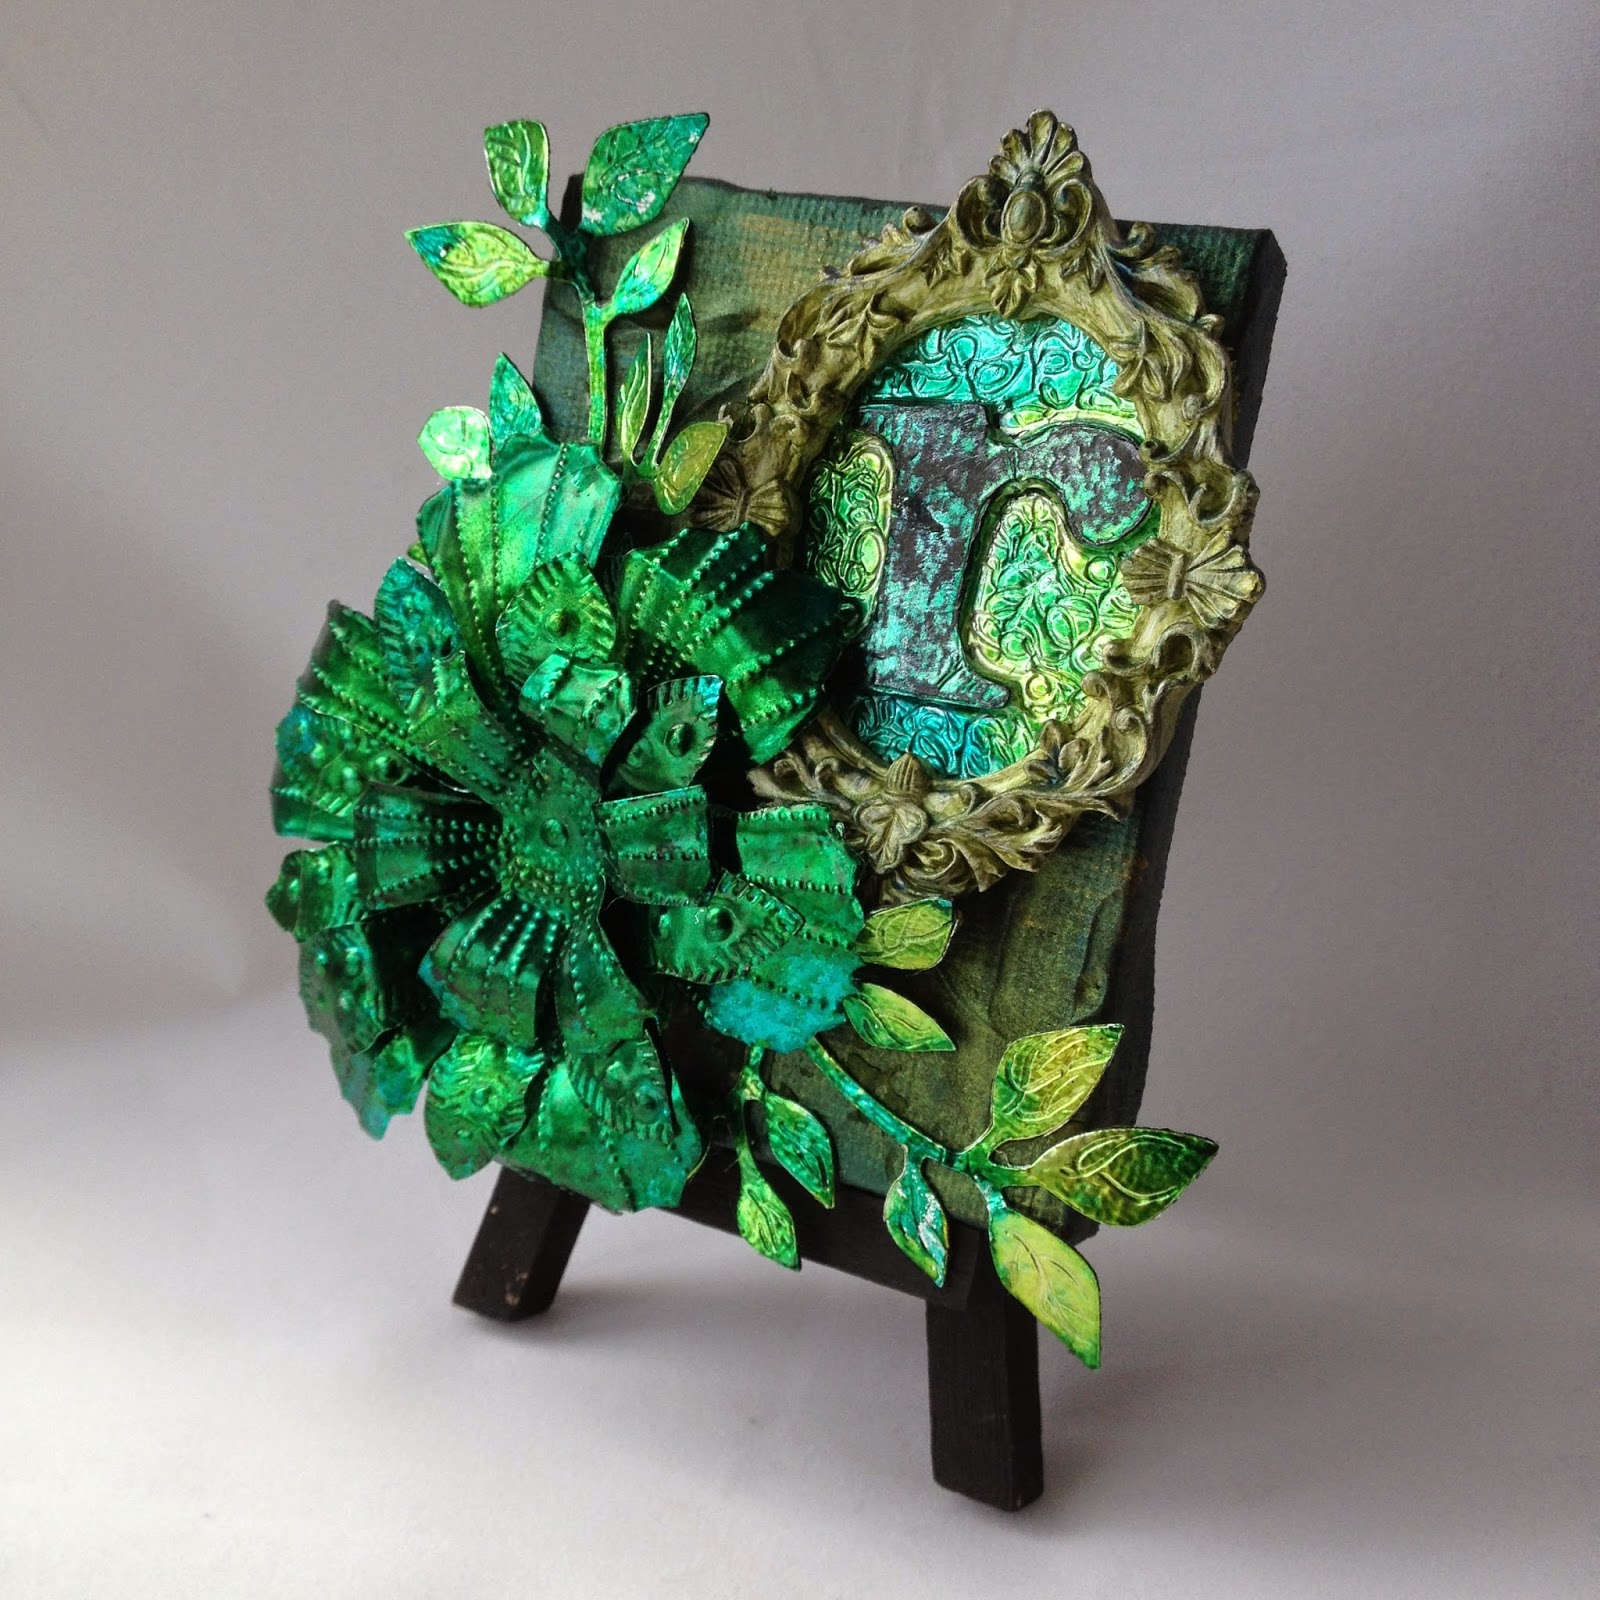
Showing posts with label metal. Show all posts

Wednesday, 28 June 2017

Teal blue...

Hi everyone, I've been meaning to share some more cards that I made which have a teal blue theme.....I think teal goes wonderfully with shades of brown so we have teal and copper, teal with Kraft and teal with chocolate. I have also been using up bits again, snippets that sit in my little gather pots on the work space. This post is short on information but hopefully rich in eye candy... to make up for my less frequent posts of late!


A mark making background and of course stitchery.


The copper flowers are left overs from a craft stamper post I did last year when I made far too many.


I have had this 'plastic' card stock'  for years, sometimes you just have to wait for the right project to come along.


The Hambly paper is even older (it's been in my for stroking only stash). The new favourite Tammy Tutterow blossom die has had a good airing and of course I've used the iconic Chloe stem die.


Using snippets is creatively very satisfying as I find there are usually a few things that will go together and it's easier to make something with less than when I look around all my stash and think 'Where do I start?'


3 more cards that are variations on the blossoms theme.


with border


or without. Distress inks in Vintage Photo and Broken China matched perfectly.


I'll be back soon with more cards...that aren't in teal! Happy crafting whatever you are doing. R x

Saturday, 14 May 2016

Rusty Stuff with Lin Brown

Hi everyone, hope you're all well out there in crafty land? I was lucky (so lucky) to attend a Lin Brown workshop a few weeks ago. I know Lin published our projects on her blog here but I hadn't quite finished mine at that stage...well there's a surprise!
I still needed to do some hand stitching and now I've completed it thought I'd share my finished project with you.


 I loved doing this project for so many reasons, the combination of metal embossing and having fun creating our own rusty fabric was equalled by the absolute pleasure I felt in reawakening my love of hand stitching. Gosh it brought so many childhood memories back....Binca...a handmade cushion I embroidered at 12...I won't go on but you can guess I loved doing this!!


A few close ups I hope you'll enjoy...


I have to confess that some of the rusty fabric above isn't mine, we used a combination of fabric we rusted and some of Linda's wonderful results. Although it's great to come out with a finished creation, the lasting joy of a workshop is to inspire you to develop what you've learned along the way.....so I came home and have had rusty hands and workroom that smells of vinegar ever since, but boy I've had fun!!

In fairness to Lin I'm not sharing the details of how we rusted our fabric but there's information out there on the internet and you tube if you want to explore this....or maybe Lin will be doing a similar one sometime in the future. (See her blog for workshop details)

I thought I'd finish by sharing some of the varying results of my attempts.


Mega rusting going on here, may have left it too long!


Quirky result as I used some tea dyed fabric...but I think the tea should have been fresh...not stewed!


Front...lovely


...but I think I like the back even better.


I love this crackled effect


Who would have thought there would be such a variety of rust tones and I've only just started to experiment. Next project will be a set of smaller frames using some of the above fabric.

As always thanks for stopping by. Ruth x

Thursday, 3 September 2015

Up, Up and Away at Stamps and Stencils!

Hi everyone, Sharon is our lovely host this month over at Stamps and Stencils. The theme is Up, Up and Away with a Twist! Pop over there to see all the details and find out what the twist is! The theme had me humming a certain song and I was inspired to create a mini canvas.


For some reason when I think of hot air balloons it brings to mind the turn of the century and Victorian gentleman and ladies going ballooning. So the copper hot air balloon has just taken flight over Paris for the 1900 Paris Exposition.


I used some french text paper and a piece of map. A little distressing and splatting.


Grunge paste through stencils and treasure gold.


I heated the copper to change the colour, isn't it wonderful?


Stamping onto then puffing out the images.


Finally a little copper wire around the edge. Lots of lovely autumnal colours.


Hope you'll be inspired to join in. Lots of things go up in the air, so we're looking forward to seeing your interpretation of this theme. Thanks so much for stopping by and don't forget to hop across and see the rest of the teams fabulous creations. Ruth x

Wednesday, 8 July 2015

Catch up....

Hi everyone, another quick post from me. I've finally finished my piece from Sue Carrington's inspiring Metal Art workshop last month. Slow but steady! I loved the original colour combination but decided to go a different colour way with the alcohol inks and then came unstuck trying to marry up the background. The finished piece is much less vibrant than the original but as I love shades of brown I'm more than happy with the result!


Thanks so much for stopping by and happy crafting!


Monday, 1 June 2015

Finnabair workshop

Just a quick post from the weekend as promised, to show my finished 'ARTifact'. Of course it was a fabulous workshop, I was in great company and in seventh heaven learning from Finn...again! No info re any products used or how to, can only urge you to attend if you ever get the chance. Thanks for stopping by.


Tuesday, 19 May 2015

'Shine'

Hi everyone, I've managed to have a bit of play time today and just went where the creative muse took me. I stayed within my comfort zone at first and decorated the front of my small Finnabair journal, which has been naked for far too long!


No step by steps today, but I have used a few Finn products including 3D transparent gel, doily stencil, mechanicals, Primary elements and then some Lindy's Stamp gang sprays that I picked up at the Port Sunlight show the other week. I was hovering around the PaperArtsy stand where my lovely friend Sue Carrington was demoing and doing a brilliant job! I also managed to catch up with some bloggy friends face to face, including Chris, Anne and Lesley. It was so lovely to meet such creative ladies.

One of the other products I picked up from the PA stand was Art Basics graphite texture paste which I had a play with and created a couple of monochrome journal pages. I've been inspired by some of Marta Lapkowska's You tube videos and fancied doing something monochromatic...but with a bit of 'Shine'.


A journal is for playing and experimenting in ...so that's what I did.

I used a couple of grey pages from the journal and applied some of the paste through a stencil, now I wasn't sure how it was going to dry but I'd seen Marta sprinkle glitter on to gels and just sprinkled a little and I mean a little silver glitter on...not that it needed it, it really does sparkle.


I layered up all sorts of white/grey scraps and I've used a Crafty Individuals image I had. I've used crackle glaze, warm grey silk glaze dribbled down the pages, glamour dust and a few micro beads are scattered or splodged here and there.


I then found my H2O's which I haven't used for forever and splattered some of that on as well, hope you can see the shimmer. Finally some black stamping. I stopped at that stage not knowing whether I've finished it or made a mess...but I've experimented and learnt from it.

Anyway when it's grey and black like today, a little sparkle and shine is always welcome,


Hope you're all happily creating out there, thanks as always for stopping by.

Monday, 30 March 2015

Catch up part 2....

Quick edit...following on from my brief post yesterday about our new challenge blog Stamps and Stencils, it's my turn today along with my lovely teamie Yvonne to be introduced. As the name suggests it's all about using stamps and stencils in your mixed media projects...I'm so proud to be working with these talented ladies again...our first challenge starts on Thursday!

 Hi, part 2....I attended a Sue Carrington workshop a few weeks ago where we created a wonderful canvas panel with lots of lovely techniques but what I especially liked was that we were using beeswax. I haven't used it as often as I'd like to and have to admit I have a desire (even more so now) to dabble in encaustic artwork, layering wax on panels  to create muted shapes of depth a la Donna Downey and France Papillon. Anyway before I get carried away...here's what we created.


I won't give too much away but there is some stamping on tissue and when combined with wax gives a soft quite beautiful finish.


Some lovely paint techniques to age things


And there is some drippage here and there!


I'm lucky that Sue has become a good friend since I've attended some of her workshops and felt really honoured when she made a lovely present that I thought I'd share with you. You may think it looks familiar, she made a similar one here for another crafty friend.  


It has pride of place on my pen draw where I can see it when I 'create'. Thankfully Sue has taken my big hint and her next workshop is a metal work one.....


...can't wait. If you're around the West Hallam area of Derby June 20th you might be interested, you can find all the details on her blog here

Whilst on a green theme, I've signed up for Donna Downey's Inspiration Wednesday workshop and thoroughly enjoying experimenting and just enjoying her videos she has such an enthusiasm for art and never fails to make me laugh. I've made my art journals, although I love fabric, me and sewing machines aren't a match made in heaven, so I'm quite pleased with how they turned out.


I said a green theme, well there's a you tube video here of a past Inspiration Weds post from 2013 that I wanted to have a go out. This is my version, it's paint and gesso, UTEE and paper flowers. It's a textural piece...or in my words, touchy, feely.


This is part way through.


If I was doing it again, I wouldn't add as much colour to certain areas, but then that's what experimenting is about.


It really is a glossy dimensional piece. Hope you enjoyed this catch up, exciting times ahead this week. Thanks so much for stopping by. 

Friday, 27 March 2015

Catch up part 1...

Hi everyone, I attended a Finnabair weekend workshop last November and thought it was about time I shared the pictures of what I'd made....if only because I have some pics from a much more recent Sue Carrington one which I'll be sharing in the next post!

I won't be explaining how they were made but hope you enjoy seeing the end results....she has some new workshops for this year and I'm looking forward to going to one of them in May (yes just one this time)....just love her work, I find her so inspirational...and she is such a great teacher.


I've left my favourite till last.


As always, thanks so much for stopping by.