Hi everyone, it's November already and we are fast approaching the festive season.
Cec is our talented host for this months
challenge and she has kept that in mind with her choice of this months theme.
'With Christmas coming up and the gift buying underway, we are going to need something to wrap them in. Let's make some mixed media tags, bags and boxes that will be as treasured by the recipient as the gift itself. Don't forget to include some stamping or stenciling.'
I had a lot of fun with this one and opted for quick and easy techniques that are hopefully effective. It's a photo heavy post as I created variations on the colour theme to include other occasions, hope you enjoy...
I started off altering a small Kraft bag but then decided to decorate a gift envelope and different sized tags for Christmas, a Birthday and as a Thank you.
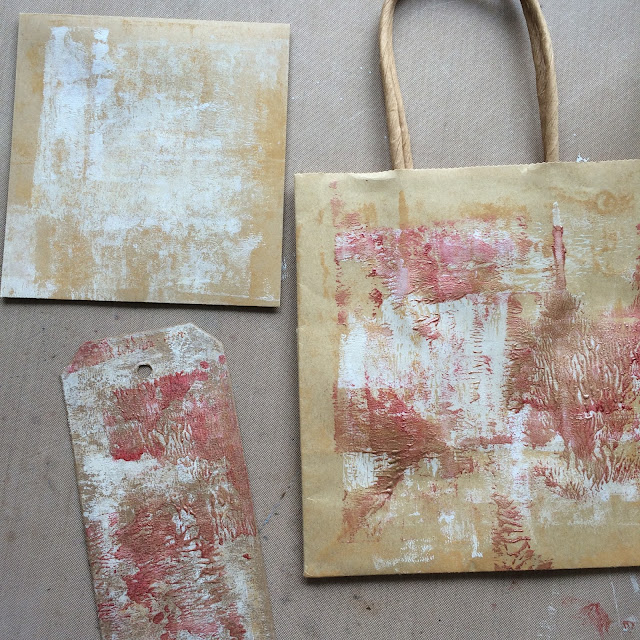
This is the step by step for 'Thanks' but I'll explain the variations along the way. Firstly brayer some chalk fresco roughly over the background, it will dry in no time.
Next brayer a little copper, gold and caramel fresco in places.
A few scraps of masking tape and a little stamping in black, sepia and plum archival and the background is created in minutes
I think these colours go so well together.
To finish the bag, I applied some die cut book page leaves and a ready made flower was 'frantaged'... shabby white embossing enamel melted over it.
The sentiment was stamped on painted book text and I added some stamped leaves.
For the envelope I added plum and sepia stamped images, the sentiment embossed in black and wiggly lines around the outside....super quick.
The tags are a mixture of the techniques and stamps already used and sticking to the same colour palette creates cohesion.
Next it's Christmas
A claret fresco paint background, crackle glaze and chalk paint top coat.
A gold snowflake has been 'shabbified'...aged with ink and paint. Stamping in plum archival and white frantage (I know I keep using it but I just love the effect a little sprinkling gives to to a project)
The crackle just transforms the tags
The last one is for a Birthday and is super quick.
The background is just white gesso scraped on with a credit card...
Add a die cut, sentiment and frantage...job done.
The die cut started off as cream paper which had been lightly brayered with paint and stamped as in the first step. You can see a little of the torn paper added to the bottom of a tag.
The trio displayed in all their glory.
These were all such fun to make and genuinely quick and easy. I now have a lovely stock, especially useful when you are on the last minute...
Hope you'll join in with our challenge and for more inspiration pop across and see what gorgeous makes the talented DT have made. x


