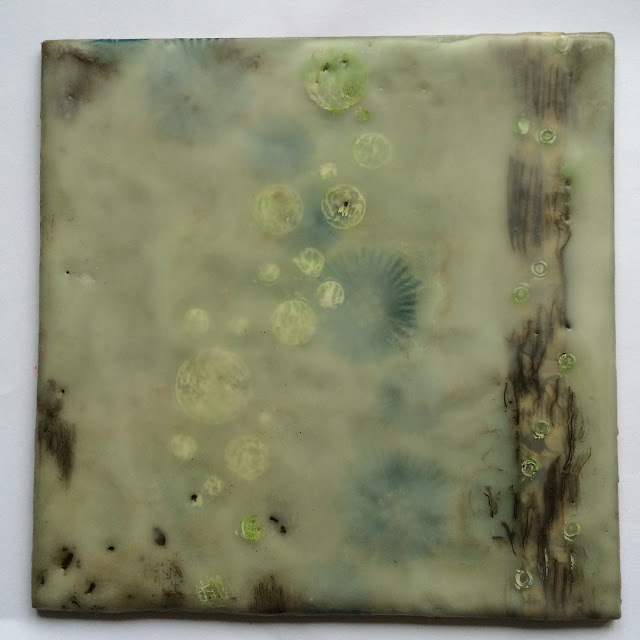
Hi everyone, I'm sharing the last of my encaustic endeavours with you tonight. It's a photo heavy post with 4 unfinished or technique pieces. First up is a piece incorporating stamping, stencilling and shellac....again!
Acrylic paints and wax don't really mix as the acrylic causes the wax to lift, but if used on the base it has a chance to absorb into the encaustic board and in small amounts can be used. It's very difficult to see but I used Bubblegum Pink fresco and an Ellen Vargo stamp across a section at the top and stamped a Lin Brown stamp 'Timeless Moments' in archival...which you can just about make out.
I then used a layer of clear encaustic medium and once set, used an Emma Godfrey stencil PS015 to paint blue encaustic medium through, across the base and the top section. Once cool I dry brushed other wax colours on and at this stage so wished I'd taken a photo as I was loving the effect...but I didn't.
I just couldn't resist trying the wet shellac burn again, I thought just a thin line dripped in the 3 white spaces would finish it off, but of course the flames just started to melt the design, however it was a happy accident as I really do like the result. Like all experiments you never quite know what will happen.
For the next piece I tried some more dry brushing this time layering a few different colours of paints, this creates a lot of depth.
You must wait for the paint to cool in between to achieve definition which at first doesn't take long as the board is cool but as the layers build it takes longer to cool. Not being the most patient person when I'm experimenting the top layers started to lose that definition, however if you zoom in the edges are much more textured.
Just using a few colours can acheive quite a variation. The tiny white specks are from a pearlescent wax paint.
The first 2 pieces were on 6 x 6 plywood panels, this next piece is a 4 x 4 piece of wood which had a base coat of white encaustic medium which I made by mixing a small piece of white oil stick paint into clear medium. I'd seen a video by
Nancy Crawford where she transfers flocked paper onto wax and so was inspired to incorporate this.
Another lesson learned as I didn't press hard enough so the image is very pale. I then thought I'd have a play adding some black and red in lines across the base along with clear medium and yet again should have stopped, walked away, thought about it and come back...but I added some more in the corner and then over fused and the red started to run....wasn't happy with this so had a think.
Well I hadn't tried any scraping back...so I did. White oil paint rubbed in to the creases, some india ink drips and lastly dry brushing with white wax. This was all done in stages and I realised it's s good idea to have few pieces on the go at once so you can give the wax chance to set and stop yourself from messing when you shouldn't! Definitely for reference and not a finished piece.
Last but not least is a piece that went through many changes, many layers....and this is it's journey.
I hadn't used paper as base so using some Chatsworth paper, I glued it down and left it to dry overnight. At this stage it has stamping on the paper, a layer of clear encaustic medium and some cutting in using a stencil as a guide, then some portfolio pastels rubbed into the circles before fusing.
Another layer of wax, cutting in, burnt umber rubbed in to dips and some more paper applied. Not sure at this stage.
Another layer and definitely don't like it, losing all the layers.....need a change of direction...melt some of the wax off.
Pan pastels, the stamping is showing through more but I'm still not happy.....another change....think the shellac is calling.
I'd seen mica powder used with wet shellac burn so another technique to try.
Think this is my new favourite, I even threw on some beads that were on my desk just as it was setting.
So vibrant
The stamping is still visible and love the touches of white portfolio pastel.
Well done if you got to the end, I will definitely be exploring encaustic more in the future and hope you've enjoyed seeing the results so far. Hope you have a lovely crafty weekend and thanks for taking the time to visit and leave comments, I appreciate them very much. Ruth x


