A few months ago there was a 'to die for' challenge over at A Vintage Journey, the 'effects powders' challenge for CC3C and a couple of Heart inspired challenges....and I had an idea! Unfortunately the original idea didn't work so I put it to one side...until now. This is my filigree heart, starting to crumble and rust away but still beautiful with hints of the gilding and precious metals that once adorned it.
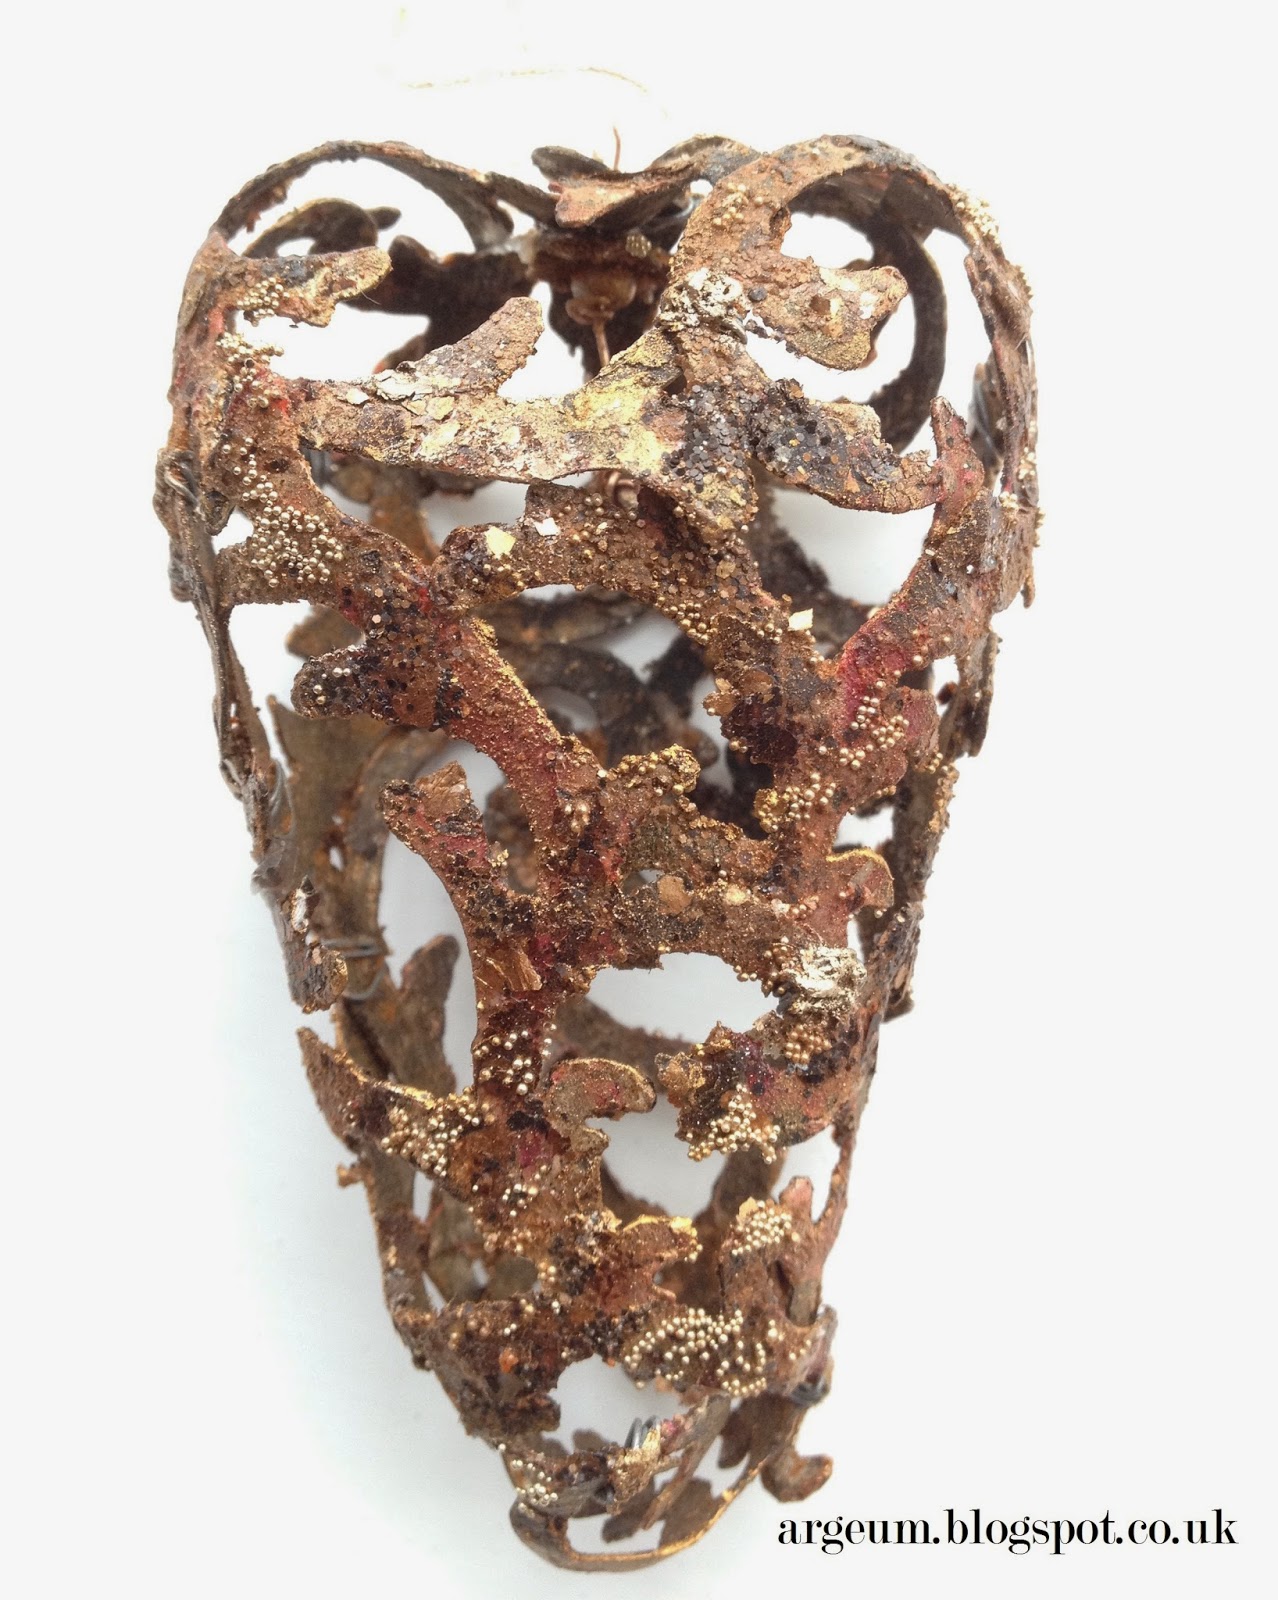
A lover's tree decoration with a hidden key.....

When I saw that the current challenge over at A Vintage Journey was 'Love is in the Air', I got my thinking cap back on. Celebrating all things Tim, my inspiration comes from the rusting, ageing and worn effects he creates.

Firstly carve a heart out of brown oasis, (I picked this idea up at a class of Michelle Webb's). You can finish shaping and smoothing it with your hands then cut it in half lengthwise. It creates a wonderful mess!

This is from my first attempt when I thought I'd use flourish die cut grunge paper and embossing powder, hoping it would hold it's shape, but it didn't.

Second attempt was to use clearly for art film, which could be heat molded into shape. I thought I'd use clear and then realised I couldn't see the shapes on the foil covered oasis so painted it black with black ice silk glaze. I wanted the inside to be dark to provide some contrast anyhow.

I cut about 8 pieces and then started to form it around the heart with tiny bits of overlap.

I realised I wouldn't be able to use any heat on it from now on, so gradually built up the look using the above with matte gel in lots of layers.

I started with iridescent gold silk glaze and a touch of love struck dry brushed in areas before using glitter, mica, micro beads.

Every so often I would 'knock it back' with cinnamon and paprika, see link (thanks Brenda ...fabulous inspiration!). Once I was happy with it I used some very fine wire in several places to join it together...so it looked like repairs had needed to be done to prevent this valuable treasure from falling apart anymore...

The key had the same treatment and I wrapped some copper wire around it to make a rigid hanger. It's secured through the top between a bead and a small rusted washer. I'm also going to enter it at the Inspiration Journal challenge this month which is 'Fresh Start' , I've certainly tried some new techniques with this one.
Honestly, although it was a bit fiddly to assemble, probably the hardest part was trying to get a good photo showing it's true colours!
Against black


and white.


It's 9 cm in length and surprisingly resilient but lightweight ...and yes it will adorn our Christmas tree this year. Hope you enjoyed this post, thanks again for all your lovely comments, I really appreciate every single one. Have a lovely crafty weekend!
A lover's tree decoration with a hidden key.....
Firstly carve a heart out of brown oasis, (I picked this idea up at a class of Michelle Webb's). You can finish shaping and smoothing it with your hands then cut it in half lengthwise. It creates a wonderful mess!
This is from my first attempt when I thought I'd use flourish die cut grunge paper and embossing powder, hoping it would hold it's shape, but it didn't.
Second attempt was to use clearly for art film, which could be heat molded into shape. I thought I'd use clear and then realised I couldn't see the shapes on the foil covered oasis so painted it black with black ice silk glaze. I wanted the inside to be dark to provide some contrast anyhow.
I cut about 8 pieces and then started to form it around the heart with tiny bits of overlap.
I realised I wouldn't be able to use any heat on it from now on, so gradually built up the look using the above with matte gel in lots of layers.
I started with iridescent gold silk glaze and a touch of love struck dry brushed in areas before using glitter, mica, micro beads.
Every so often I would 'knock it back' with cinnamon and paprika, see link (thanks Brenda ...fabulous inspiration!). Once I was happy with it I used some very fine wire in several places to join it together...so it looked like repairs had needed to be done to prevent this valuable treasure from falling apart anymore...
The key had the same treatment and I wrapped some copper wire around it to make a rigid hanger. It's secured through the top between a bead and a small rusted washer. I'm also going to enter it at the Inspiration Journal challenge this month which is 'Fresh Start' , I've certainly tried some new techniques with this one.
Honestly, although it was a bit fiddly to assemble, probably the hardest part was trying to get a good photo showing it's true colours!
Against black
and white.
It's 9 cm in length and surprisingly resilient but lightweight ...and yes it will adorn our Christmas tree this year. Hope you enjoyed this post, thanks again for all your lovely comments, I really appreciate every single one. Have a lovely crafty weekend!